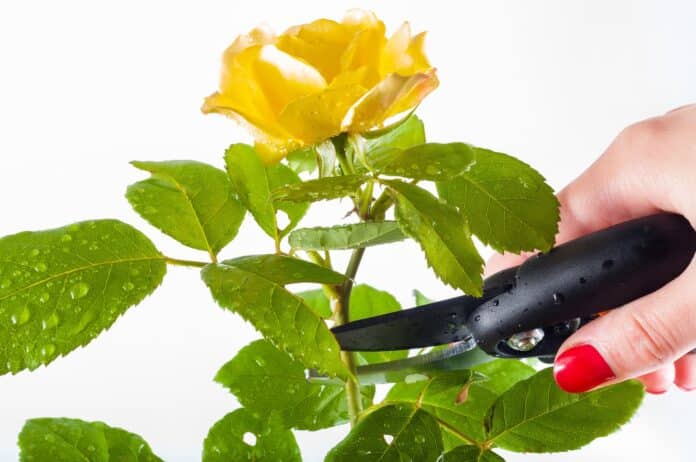
By Lori Murray, Cameron County Master Gardener, Texas Superstar Specialist
Every year as Valentine’s Day approaches I think about pruning my roses so, a few years ago I did a thorough internet search. I found a few articles that were helpful, but what impressed me most was the incredible number of videos available! I watched a couple hour’s worth and here I am rerunning this article to share the information once again.
First of all, you need to be armed when you start pruning roses. Gloves – perhaps with gauntlets if you have them – are essential. A couple of the speakers recommended leather gloves, with goatskin being the most highly recommended for its resistance to the thorns.
The most important tool was a sharp bypass pruner (it’s called bypass because its blades are scissor-like and pass by each other as they cut rather than being saw-like and cutting through from one side to the other). Other helpful tools were loppers – both regular size and small – kneepads, and a small saw. The steps in the process were the same: prune, clean up the bed to remove possibly diseased material, feed the roses, and then mulch.
Everyone agreed that the best time to prune roses was the end of winter/beginning of spring, so obviously the time will vary with the location of your zone. Here in the Valley, even January isn’t too early, but I have always associated pruning roses with Valentine’s Day and that works for me.
First, stand back and look at the rose bush. You ultimately want an open and spreading, vase-shaped structure with about five canes. Air circulation is important in roses, so the structure should be open. Here are some of the guidelines mentioned in most of what I read.
First remove “the four d’s”: dead branches (even little thumbs should be cut back to their base), dying branches, damaged branches, or diseased branches. Then take out any branches that are horizontal or that are rubbing against each other. Remove branches thinner than a pencil (they’re called “spindles”). Remove suckers that are below the graft line by cutting them all the way to the base. Same with old woody canes. Now it’s time to stand back and look again.
You want to have about 5 canes left, so you may need to cut off extra canes. Remember the importance of air circulation if you have more canes than you need, and take out center canes or in the case of two canes close together, take out one of the two. You will now prune the canes you kept. The usual guideline if you want maximum bloom is to never take the rose bush down more than one-third to one-half its height, and to not make it shorter than 18 – 24 inches. This is because so much of the rose’s sugar, energy and food is stored in the canes.
Stand back and look again. What to do now is the hard part for me because I’m basically dealing with healthy canes. I have to keep reminding myself that this is for the plant’s own good and I remind myself that cutting off old wood regularly produces new wood and that the energy that would have gone into keeping the old wood alive will now go into producing new wood and flowers.
Cut the remaining canes down to just above an outward facing bud that’s about knee-high.
The bud is a reddish swollen node on the side of the cane. You choose outward facing buds because that’s the direction you want the rose to grow, away from the center. The cut should be about a half inch above the bud. It should be made at a 45 degree angle and away from the bud (there’s a diagram provided by Pinterest if you go online) because you want rain to fall away from the bud rather than into it. If you are unable to find an outward facing bud (which is unlikely), you can cut the cane straight across about 1 or 2 inches above an inward facing bud and the plant will then produce an outward facing bud. Pruning year round is also possible if you use the following deadheading process.
The University of Illinois video said that when the flower has bloomed, you should cut the stem off down to the top of the first 5-leaf leaflet. Deadheading is done to keep the flower from sending the “done reproducing” message to the cane and it makes the plant continue to bloom. It was noted that thoroughly deadheaded roses don’t produce rose hips, so if that is your goal, this is not a procedure for your plants.
Some of the videos I watched were “all talk” in that the viewer couldn’t really see what the speaker was doing, but others were very helpful. One mentioned that in cleaning out the bed we should be sure that the crown of the rose was exposed. This author writes a blog that can be found at www.rosevilla.org/roses. There are also some very helpful diagrams of right and wrong pruning cuts if you add images to what you google.
There were too many videos to list and most had similar names, revealing their authorship only after the video began, so I didn’t attempt to cite all the sources, but suffice it to say that all kinds of information is available out there. Unfortunately, you’ll need to look for yourself if you want more information on this subject.


